Updating With LED Lights
Adding and converting to LED lights is an inexpensive upgrade that enhances your boats utility. The galley is one place on the boat that benefits the most from improved lighting.
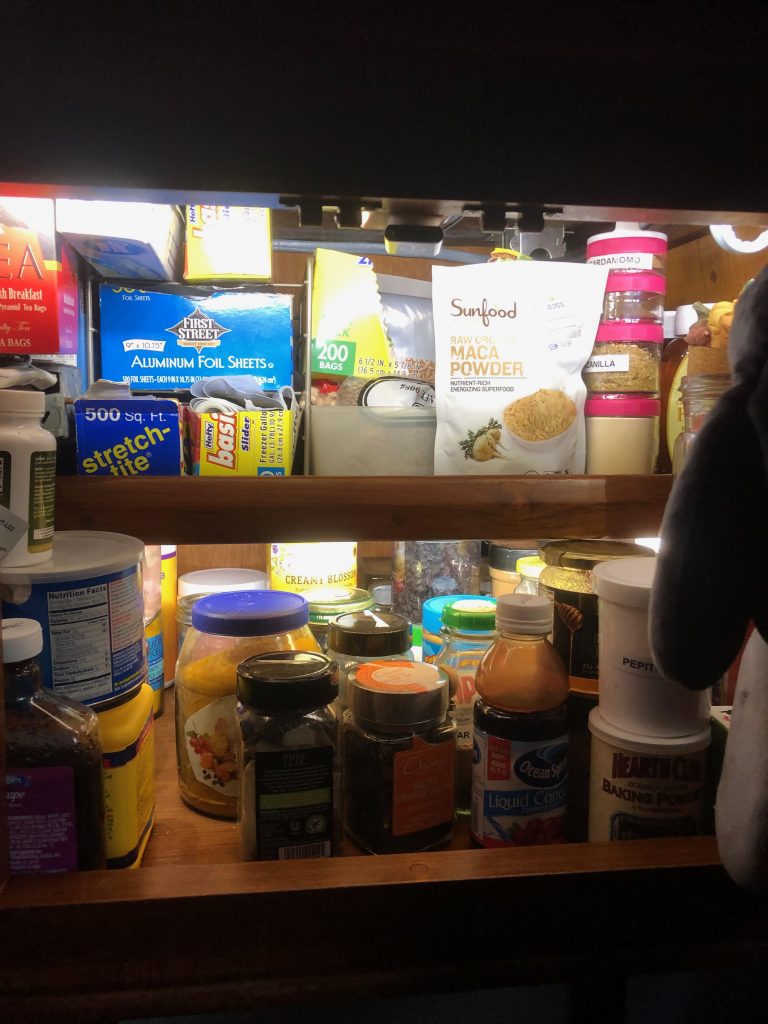
Looking for stuff in dark cabinets is really annoying. Adding lights in galley cabinets is a task requiring a low skill level. And, because it makes the first mate happy it is well worth the effort.
Why Use LED’s?
LED lights typically draw little power compared to your original incandescent lights. Don’t worry about using the original wiring because it was sized for a larger power draw than your new LED lights will require.
In my previous post I discussed some conversion options. In this post I talk about some of the upgrades I’ve made on Mai Tai. Mai Tai is my 1988 Cooper Prowler. I like to call her my compact cruiser.
I’ve owned Mai Tai for about 15 years. Recently, original lights started giving me trouble. After 30 years living in salt water switches were a common weak spot.
My first mate had also been complaining that she wasn’t able to see into the deep galley cabinets. I was complaining that lighting in the engine bay was inadequate.
The advent of inexpensive LED lights and my availability of time crossed and the project began.
Where To Start?
The first phase was, not surprisingly, the galley!
DC power was already run to the main cabinet. All I had to do was extend the line to the other parts of the cabinets. Deciding what kind of lights and how they were to be switched on/off was all I had to figure out.
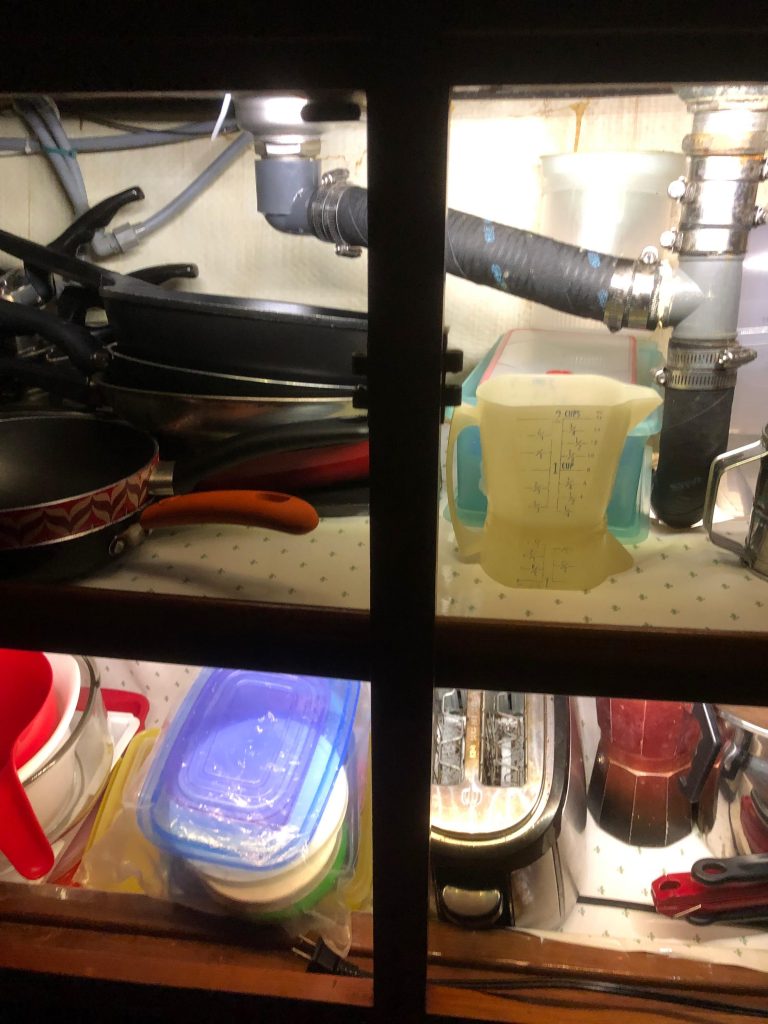
The limited space and deep cabinet configurations presented some challenges. Standard light fixtures were to bulky and limited in their reach. LED strip lights solved the problems and provided light to the farthest reaches of the cabinets, took up no space and can’t even be seen.
Figuring out what kind of switches and where to put them was a far more challenging problem.
What Switches To Use?
First thought was a remote switch panel. The problem I’ve noticed on other boats is that it’s difficult for visitors to figure out where the switches are and what they operate. It can also be inconvenient to have to go to the switch and then back to find what you want.
I found two options that eliminated the problems associated with remote switches. One is the low-profile contact switch. This is a mechanical switch where the cabinet door opening and closing activates the light. The other option is a proximity switch. It’s a motion sensor with a short range (about 6″).
Both types are small and unobtrusive. I started out using the motion sensor switch. This worked great for the upper cabinets but failed miserably in the lower cabinets. The problem being that the lower cabinet requires you to be in the range of the proximity switch turning the light off! Not a problem with the upper cabinets.
Needless to say that the mechanical switch is the best choice overall. Better than the remote switch panel to save time and trouble. Better than the proximity switch because it can’t be interfered with when getting what you want from the cabinet.
Was It Worth The Time And Money?
My first mate loves her cabinet lights. I love the engine room lights. We can see every facet of the areas these strip lights are installed in. No more flashlights or head lamps needed.
Was it worth the time and money?
Absolutely!
I should note that the engine room strip lights are encased in plastic to protect from moisture. A couple years ago I had a leak in my wet exhaust that sprayed salt water all over. I didn’t want this type of failure to impact the lighting.
There are lots of places to source LED Lights. Here are a couple to get your research started:
Strip Lights – Click Here
Connectors and accessories – Click Here
The next installment discussing LED Lights will focus on what you will need in terms of tools and parts to complete your LED strip light conversion and installation.
Recent Comments